📚 create your own textbook!
collecting, curating, and binding a homemade textbook of your favorite readings, essays, and articles
hi friend!
A few weeks ago, I put together my own personal textbook for The Custom of the Country by Edith Wharton. I’ve assigned three academic articles (all available through JSTOR for those with a free account) that we’ll read at the conclusion of the novel.
For anyone hoping to learn more about literary criticism and how it works, these articles will serve both to deepen the Edith Wharton reading experience — and to teach you a lot about how literary criticism works.
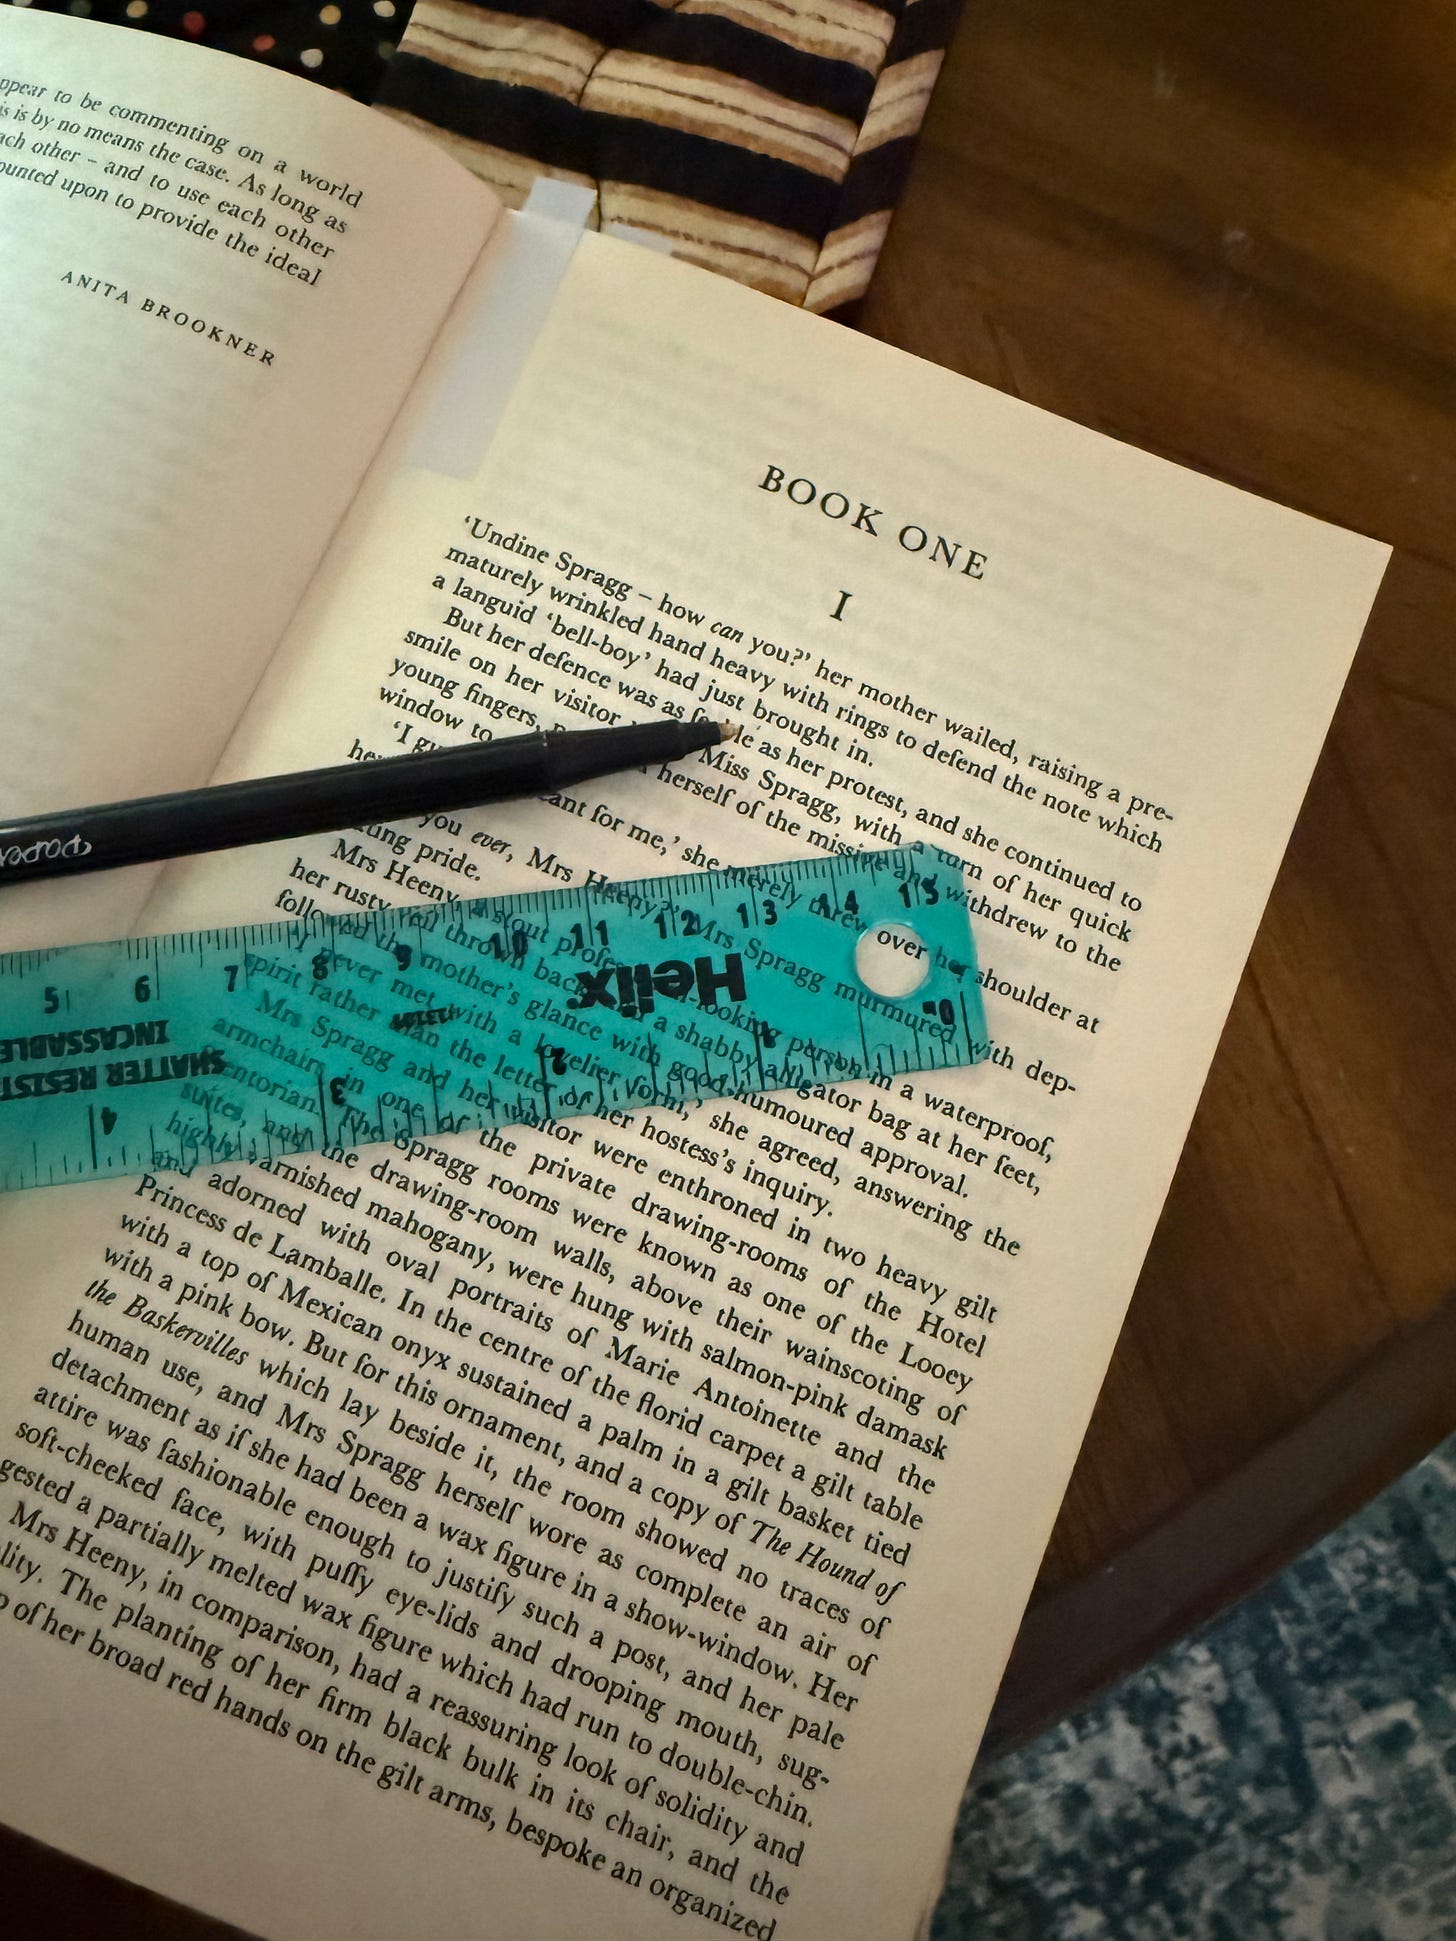
But I hit a snag in my own brain when I thought about assigning academic readings, and how I’d read them myself. You see: I much prefer to read all things on paper, and that’s especially true of academic articles. I remember more, think more clearly (and more thoroughly) when I read physical books and pages.
And so, I decided to make myself a textbook.
To break down the process for you, here are the steps to follow to make your own textbook for your fall syllabus or other reading project you’ve got goin’ on.
Step 1: Print the articles you want.
This can be anything you’re able to print, really. You might save + print favorite Substack essays. Pieces from online journalists or news sites you enjoyed reading or plan to read in more depth. Magazine articles. Blog posts. Recipes. Whatever you like.
JSTOR does indeed have a “Free” membership tier — but you have to read everything online and there’s no print option. To be able to download and print articles, you’ll need to pay a monthly fee. I’m looking into Project Muse, and thinking I need to renew The Edith Wharton Review again!
You may even want to print some images — from Pinterest or your own camera reel — to include in a collage. You could print these separately, to be glued in later. Or you could create a digital collage to print out on one of your pages.
A note on printing: to save paper + space, you might consider printing on both sides of the paper, or printing multiple pages of a PDF on a single page. (I had a colleague in college who used to print 4 PDF pages to each printer page; I have no idea how his eyes did it, but he saved a ton of paper!)
I prefer to print single-sided, because I know I’ll use the backs of the pages for additional note taking and for potential bleed-through with the pens I like to use for annotation.
Step 2: Create + print the extra pages you want to include.
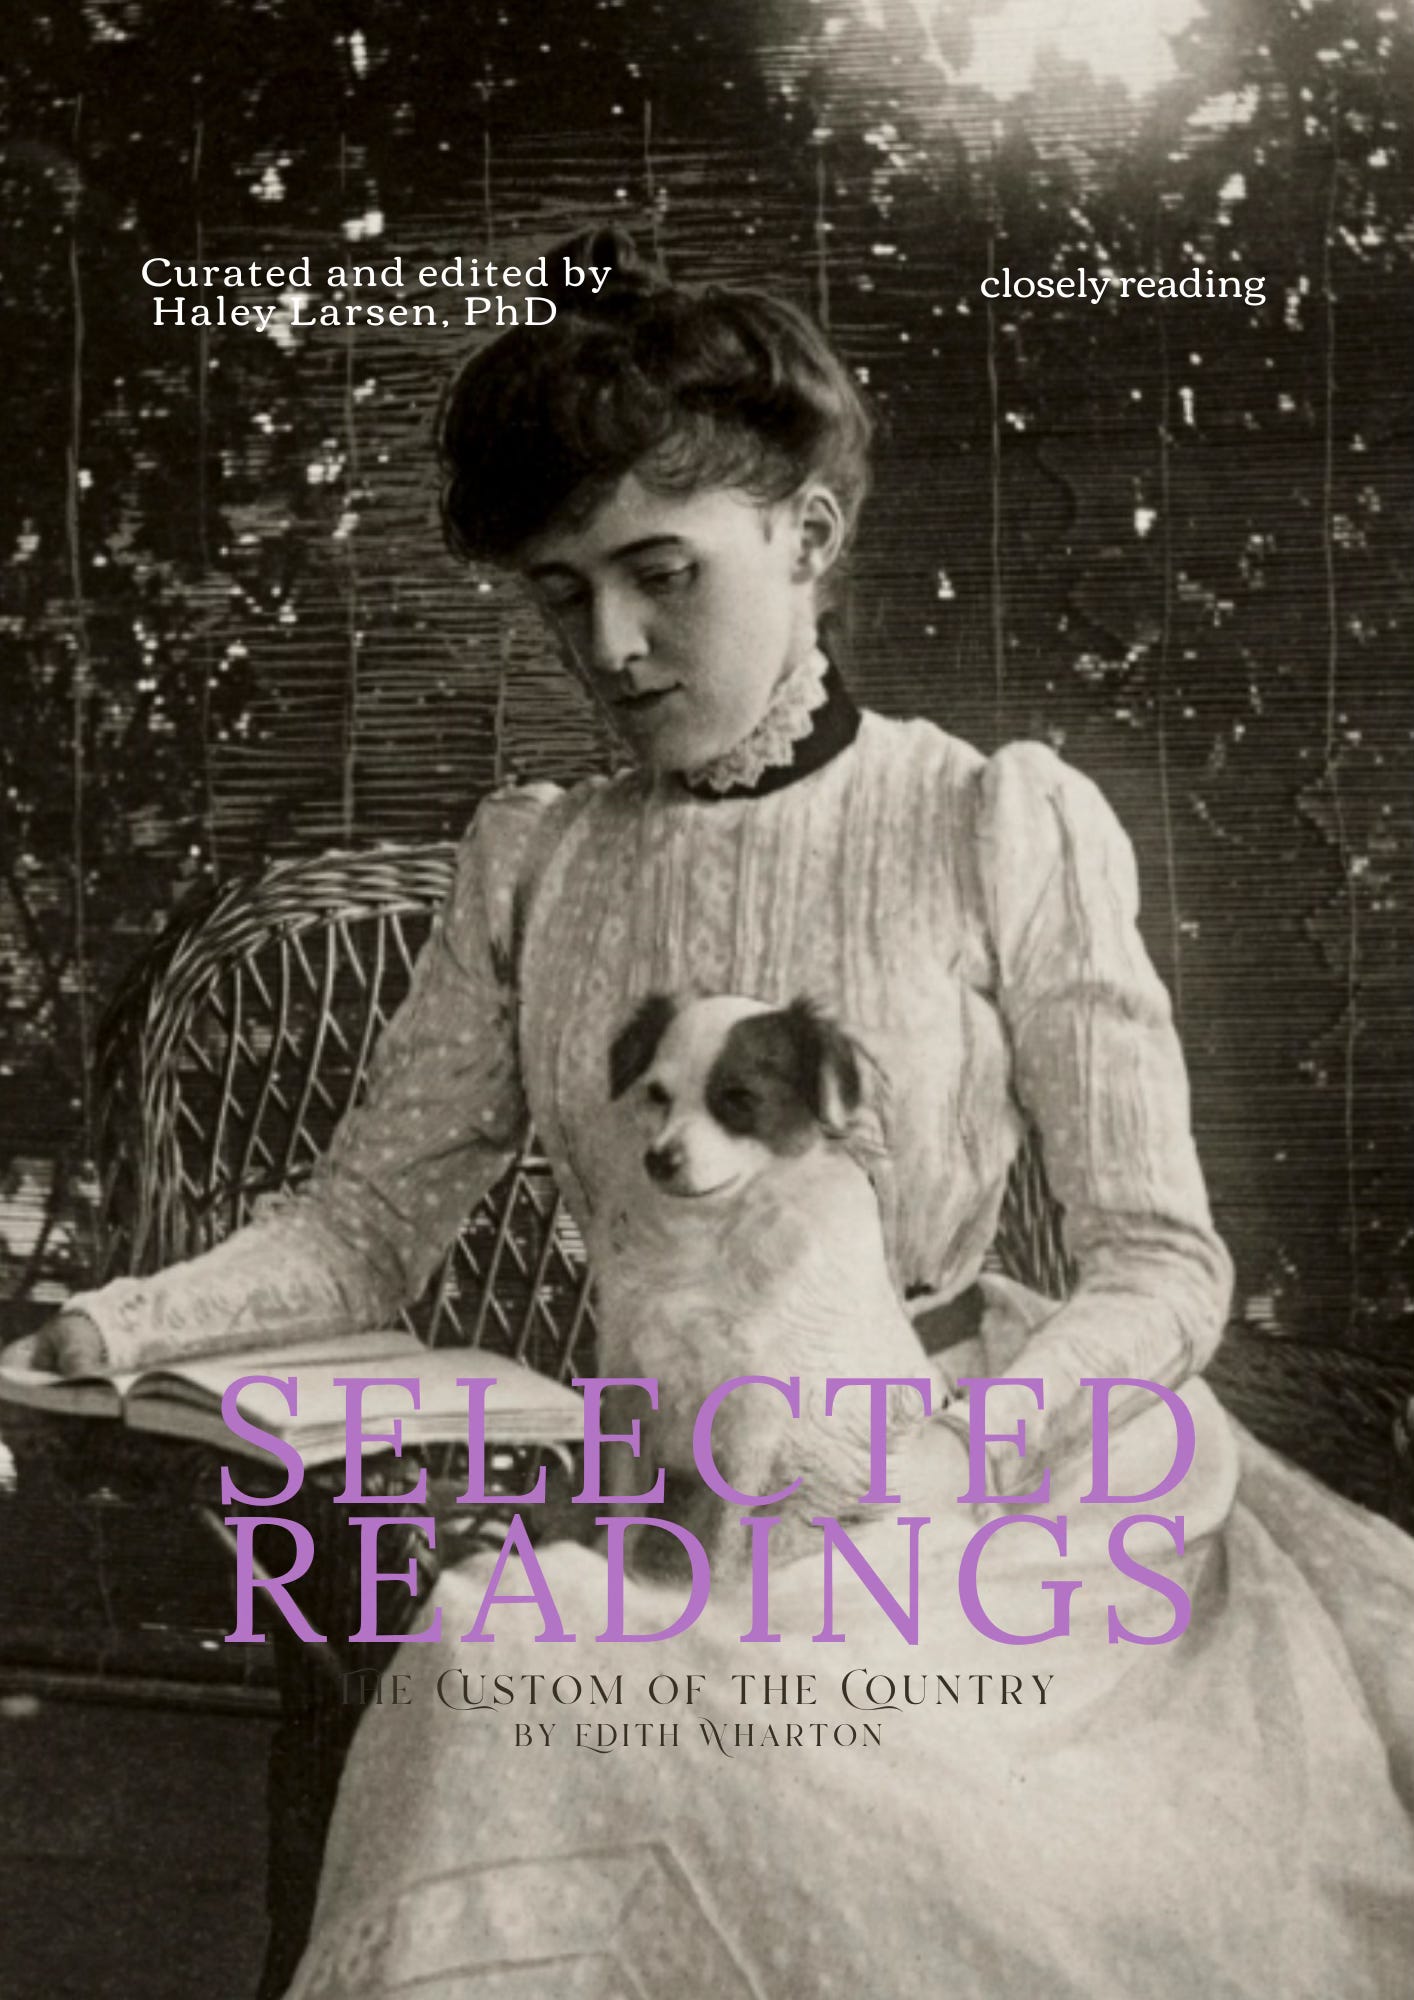
Think notes pages, a cover image, a table of contents. Chapters. Headings. Sections.
I’ve shared a free PDF of the cover + other pages I created for the Wharton textbook. I threw them together easily in Canva. But, of course, there are so many different tools you could use to create similar pages for yourself! (Even Microsoft Word could work!)
There is so much fun to be had here. My mind was blowin’ up with ideas while I started creating pages for my own textbook. I kept it simple so I could work quickly. But here are more ideas:
A study log, reading tracker, a customized calendar: include a blank table so you can insert the dates, pages, and basic notes from each reading or study session.
A page of writing or reading prompts you want to use as reference. You could get these from your own brain, or you can find writing prompts online.
A list of recommended or related readings, with open space for you to write-in more titles and authors as you learn about them.
A full bibliography with all the citation information you need to find the articles and other contents you print. Flex that part of your brain that, at some point in the past, knew MLA or APA formatting.
Use a header or simple title on blank pages to demarcate their use: notes, doodles, free writes. You might even want to include some “lined” pages for tidiness, or boxes to “storyboard” your thoughts in.
Quotes and excerpts: What about a page dedicated to “favorite quotes” from the novel or the readings you’ve collected. You might consider creating lines or breaks on the page, or leaving yourself lots of room if you like to write out long excerpts.
Empty tables: Create empty tables you can use like templates as you read. You might fill-in with things like unexpected lists, themes you’re tracking with related page numbers, or even a list of epiphanies you had while reading!
Borders, footers, pagination. There are so many ways to customize your textbook pages. Have fun with it! You might add images. Insert collages. Include thicker paper—like heavier card stock—in a few key places to demarcate sections from one another.
Colored paper! Consider incorporating paper in different colors to really add a pop to certain sections or pages. (I considered including a few pastel pages as section breaks; but again, I was working quickly. Can’t wait to try this in the next one!)
Step 3: Put all your pages in the exact order you want them to appear in your book.
I loved holding the big, warm stack of paper from the printer. It gave me a clear sense of “heft” behind the project, and it also let me notice how much more I wanted to include.
Hold it in your hands, leaf through the pages, and see if you’re “missing” anything. Are there additional essays you want to add? Are there more blank pages you’d like to include? Did your printer do anything wacky to any of the pages, which need to be re-printed?
Step 4: Head to a FedEx or local print shop.
Now that you have printed your readings, created your supplementary pages, and have a cover, double-check again that everything is in the right order.
Then, head to a print shop to have it bound.
Ask for a spiral binding on your pages, or browse their other binding options.
I prefer spiral, because it’s so easy to turn the pages and to fold the book back on itself.
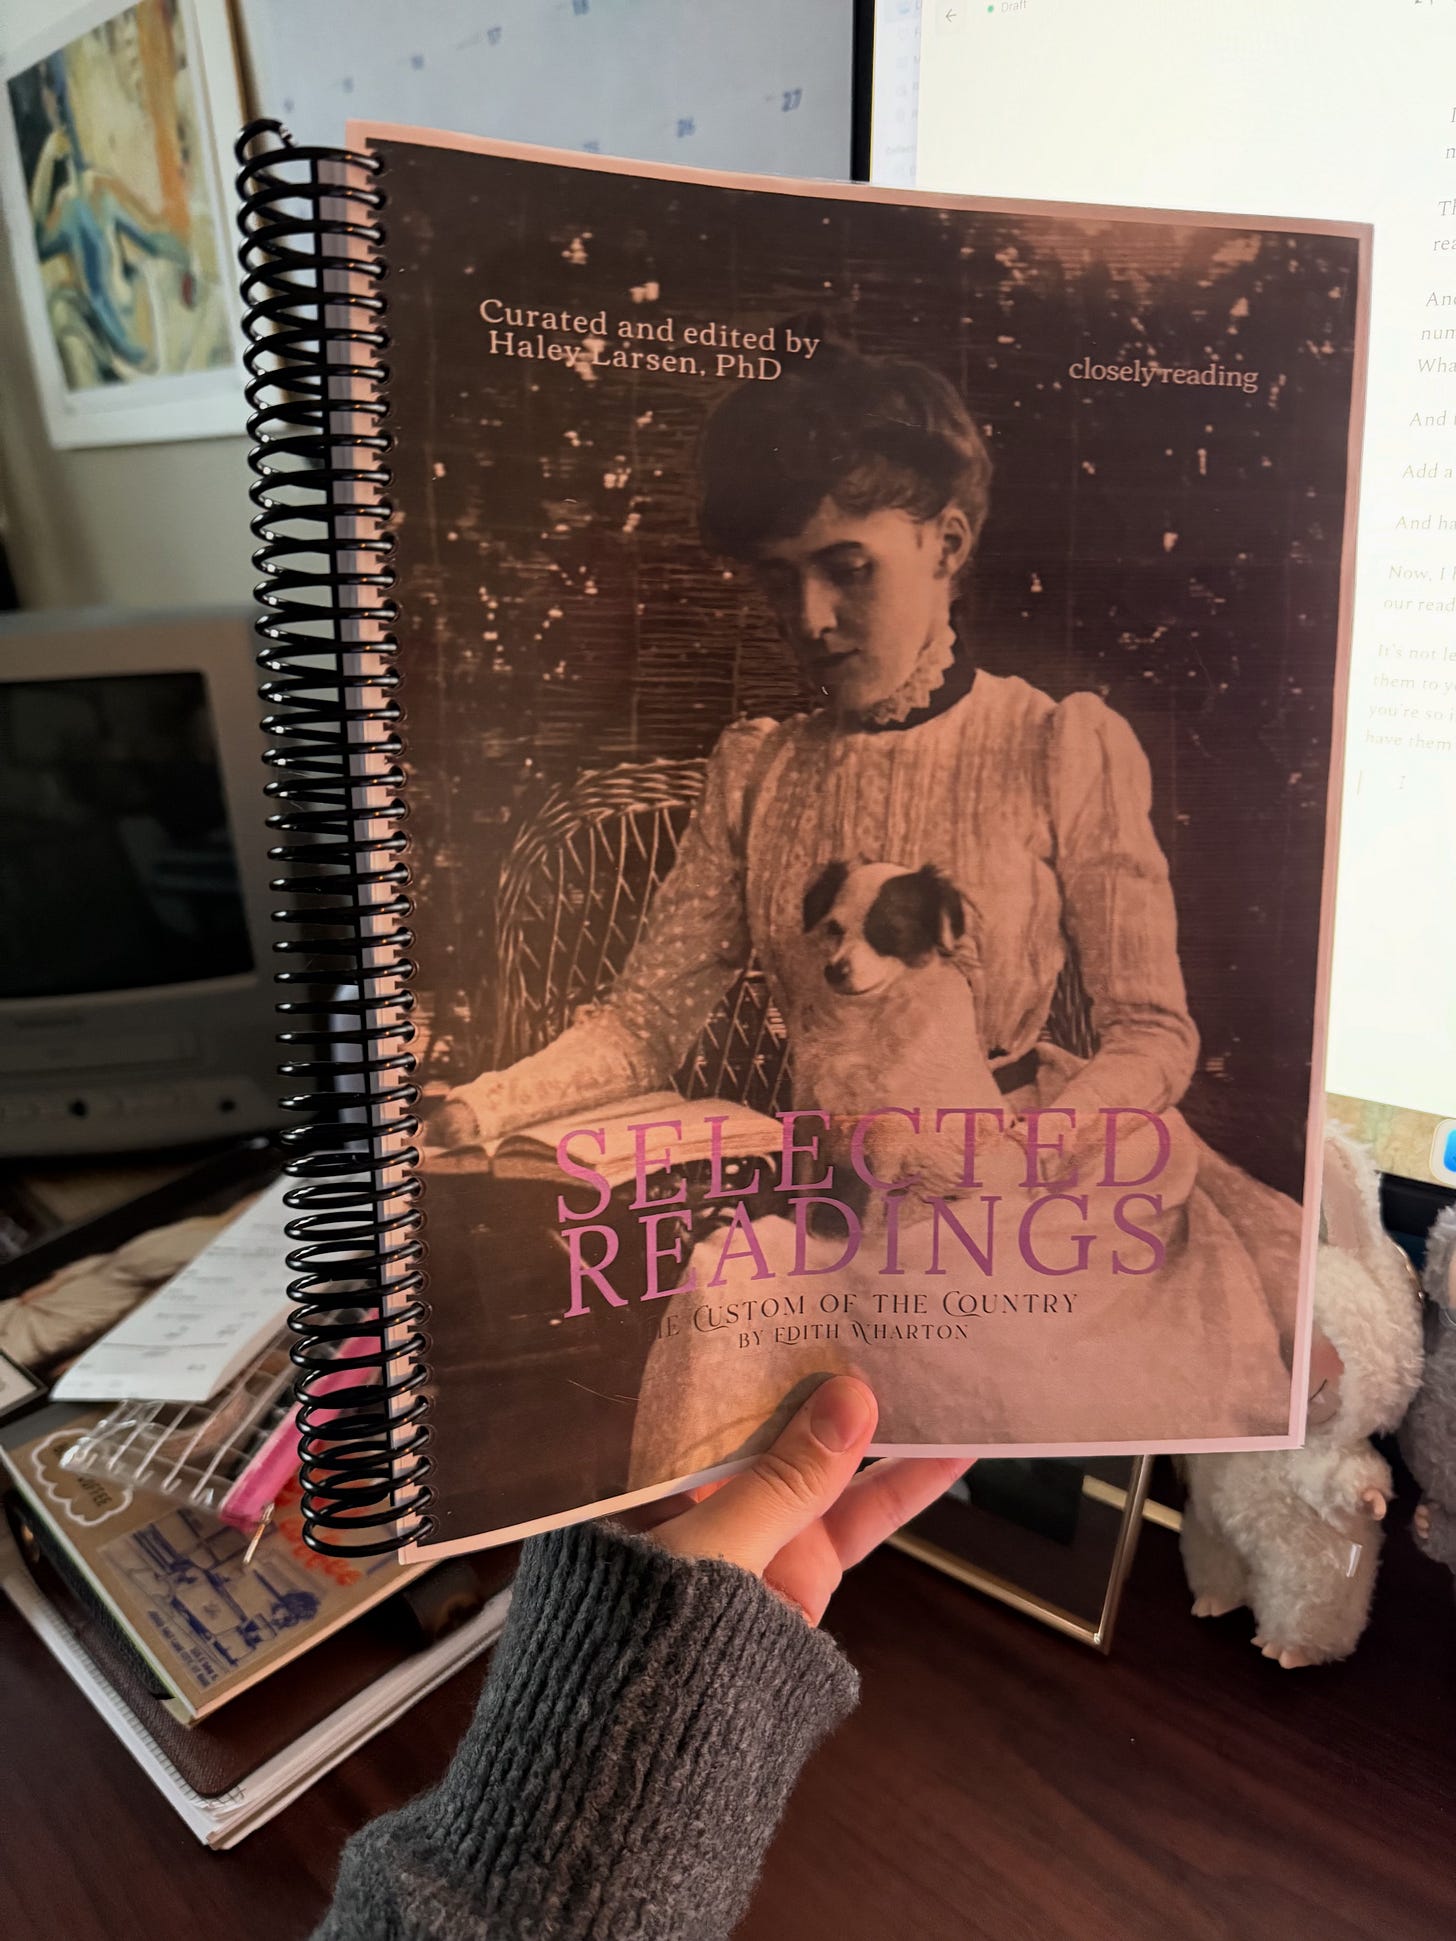
Ask about cover options! I hadn’t considered adding plastic to mine, but it made so much sense and it has kept my cover clean, as well as the added bonus of keeping my textbook safe from my cat who loves to nibble page corners.
At my local FedEx, the binding for my textbook cost about $6. Adding a clear plastic cover + black plastic backing cost another $2 or so. The total was under $9 with tax! They were also quick: there was no one there when I stopped in, so the nice man at the counter bound it immediately. I only had to wait about 10 minutes for it to be done.
During my PhD, I made a few textbooks like this — and I was able to simply drop them off at the print shop and pick-up the next morning. That may be an option for you, so be sure to ask!
Step 5: Enjoy your homemade workbook!
Now that you’ve assembled your own little series of curriculum, readings, inspiration, and citations…enjoy it!
In mine, I’ve started to highlight key sections, update my reading log, add stickers to the pages, and just generally bask in the joy of carting a hefty pile of great essays around.
More literary inspiration —
Check out my Bookshop store for literary and academic reading recommendations
Want specific recs for your fall project? DM me and we can work together to bolster your reading list with scholarly insights.
Get 10 tips for getting back into a studious mindset, including tips for how to overcome imposter syndrome.
Treat yourself to a closely reading mug, hat, or stickers!
Learn how to define your personal annotation style — this one is so much fun!
Read about my experience of “leaving academia” and pleeeeease let me know if you relate.


Exactly what I wanted. I am digitally hopeless in creating something like this. Overwhelmed with all those creative tools out there.
I love this!!